The Linksys ADSLME1 is a DSL modem that was used in some parts of Canada. It was not used or sold in the United States, but does appear to have FCC approval. Linksys will not provide any technical support for this product, and does not have any information about it on the Linksys web site. There is a new model, the ADSLME3, that is now in use. I assume the ADSLME1 is discontinued.
The ADSLME1 can usually found on eBay. Prices typically range from under $15 for an as-is model, or $25 to $50 for a guaranteed functional model. Occasionally new ones are available. Be sure you know shipping costs before bidding
The ADSLME1 has the blue and black case that Linksys has used for the past several years. It is a bit larger then the BEFSR41 router. It has 6 status LEDs - Power, Alert (red), LAN activity, LAN link, ADSL link, and ADSL . It runs warm, but not hot (like the Speedstream modems).
The ADSLME1 has a serial console port that can be used to configure and monitor it. A straight through serial cable is used to connect it the PC. I switched from the Speedstream 5100(a) because of the console port. There is also a web interface that can be enabled.
I have two ADSLME1s. Both where purchased as-is. The first for $10.50 and the second for only $0.99. One came with the wrong power supply and the other with none. Replacement power supplies are available from Linksys. The proper power supply will be rated 15 VAC 400 mA, and may be branded "Ever Glow".
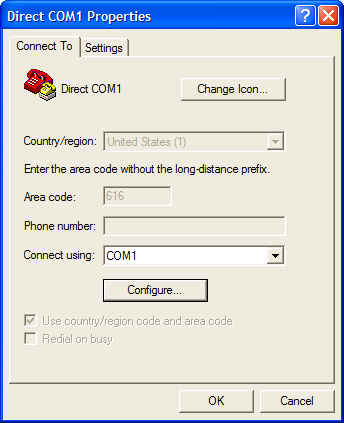
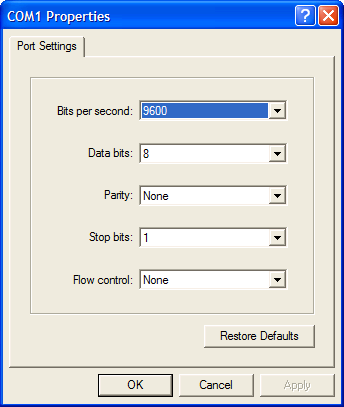
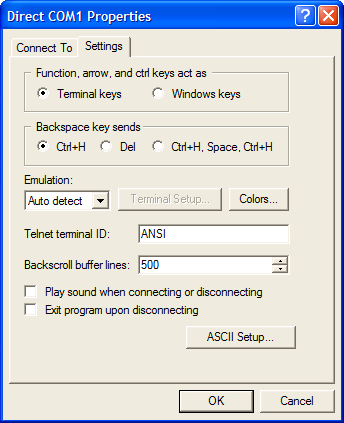
Start Hyperterminal. Select Disconnect from the Call menu. Select Properties from the File menu. Setup as shown.
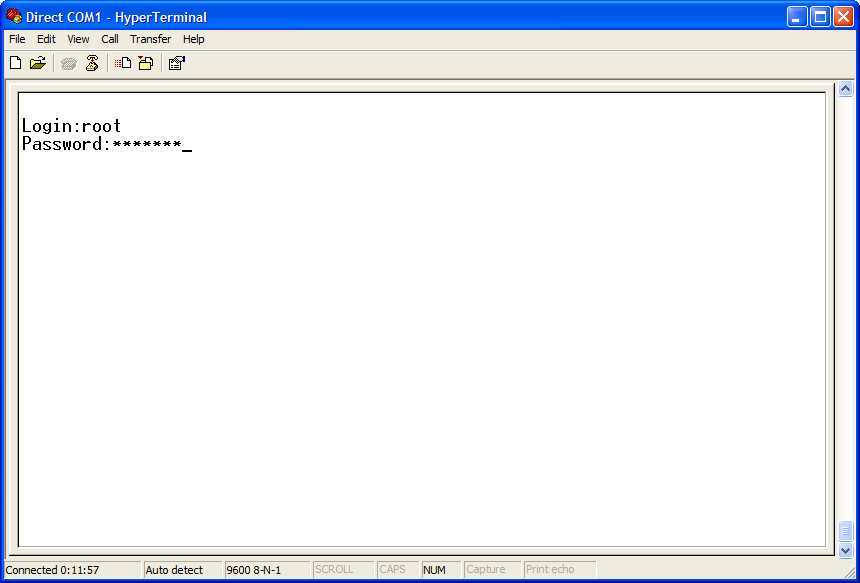
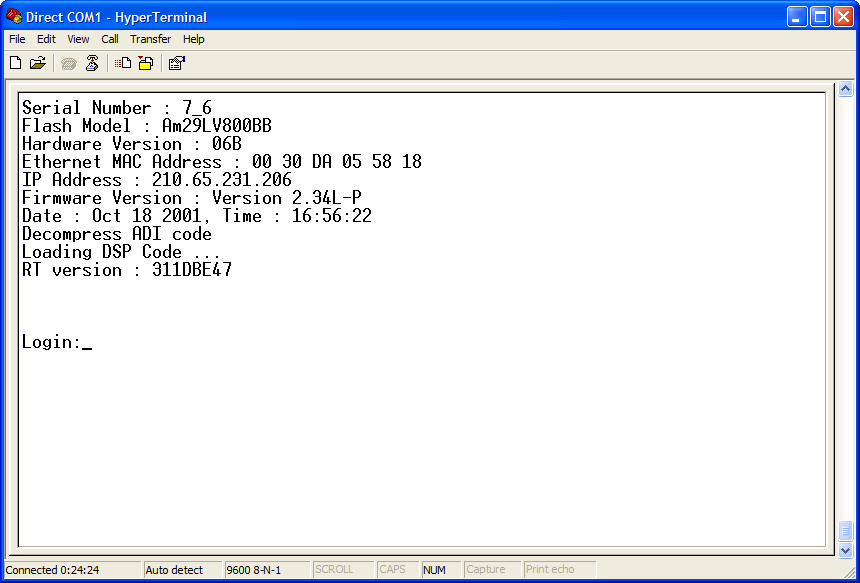
Select Call from the Call menu. Press Enter to get a login prompt. Login as root with orion99 as the password. If this password is not accepted you have a blue and black DMT doorstop.
The main menu will appear.
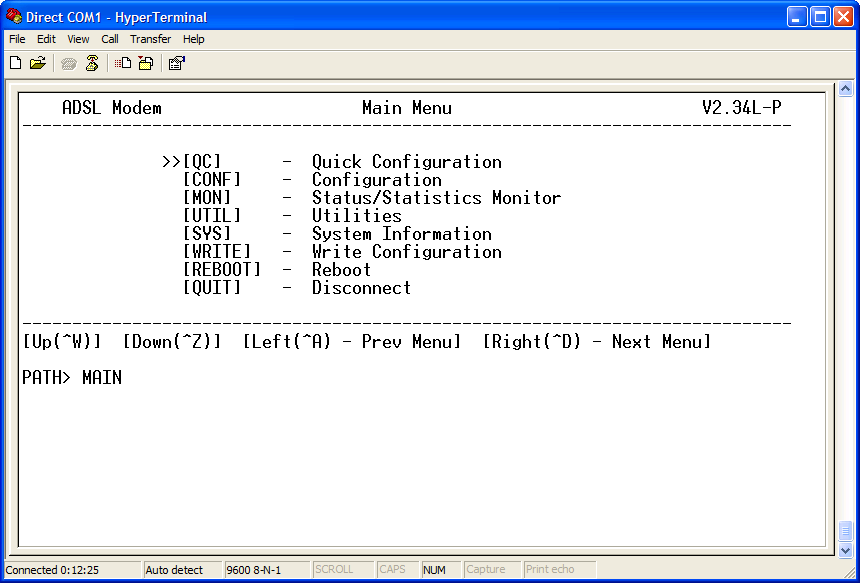
Select CONF from the menu. Menu items are selected with the right key. The arrow keys on your keyboard should work for navigation. If they don't, use the control keys show on the menus.
The configuration menu.
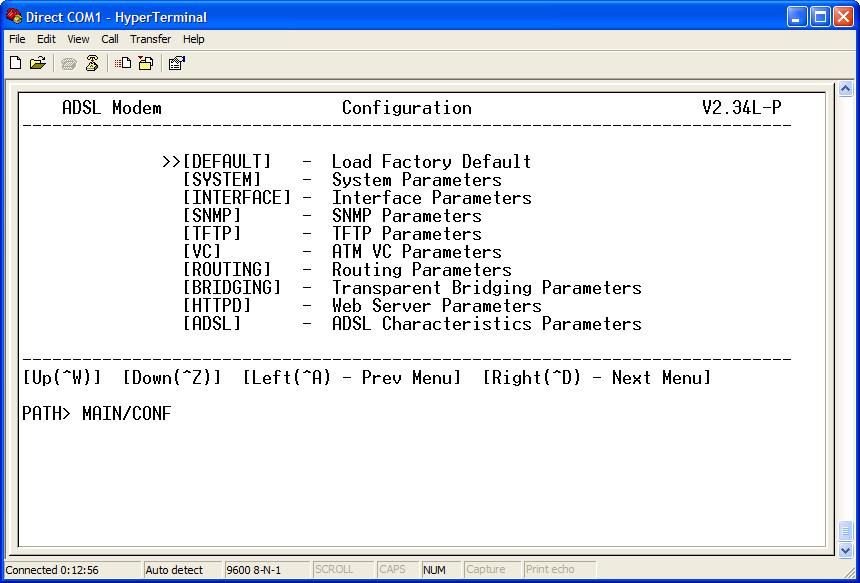
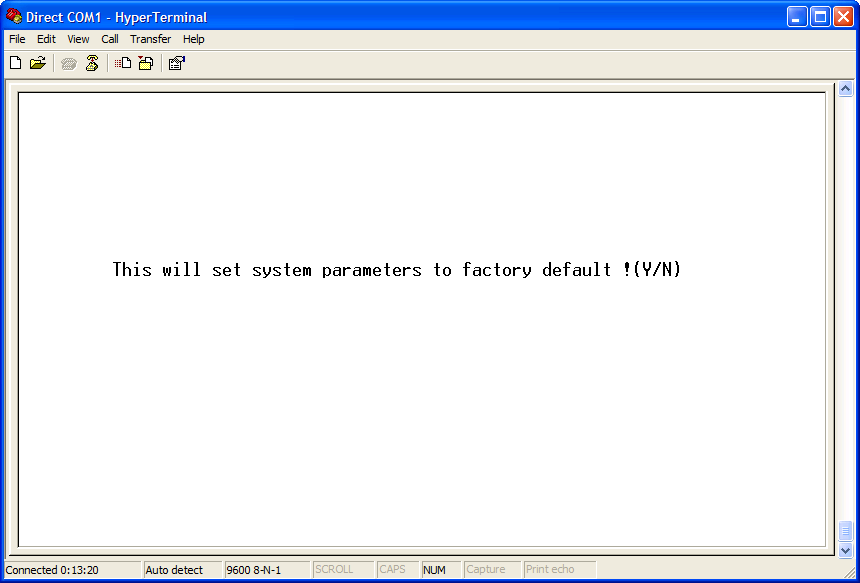
Select DEFAULT from the menu and answer the prompt with Y.
Select SYSTEM from the menu and make sure CO Chipset and ADSL Physical Mode is setup like this. The other settings are not important. Exit the menu. If asked to save changes, answer Y.

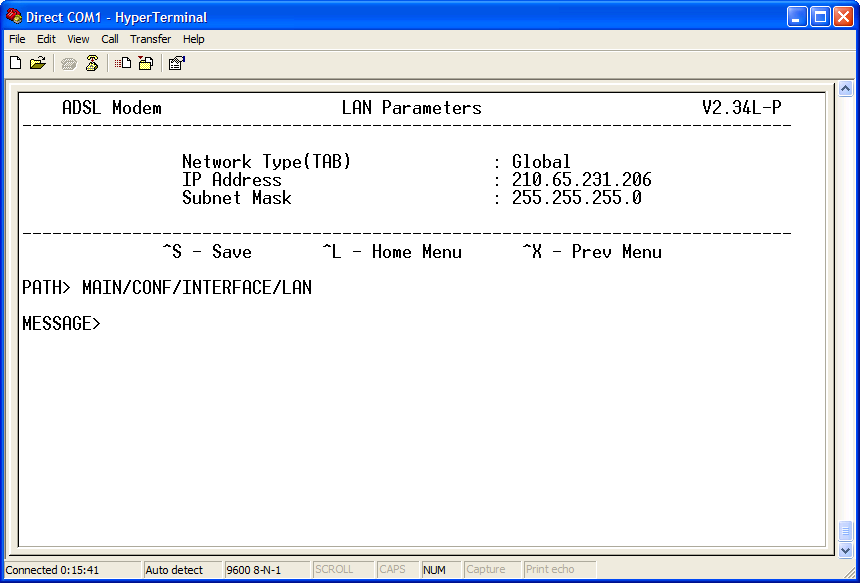
Select INTERFACE from the menu. Select LAN.
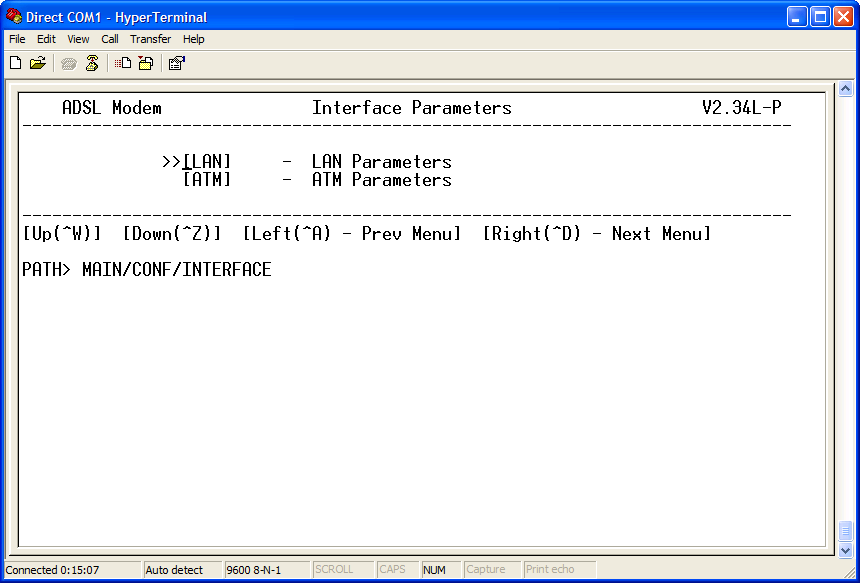
These are the default setting. They do not need to be changed.
Exit the screen and select ATM from the menu.
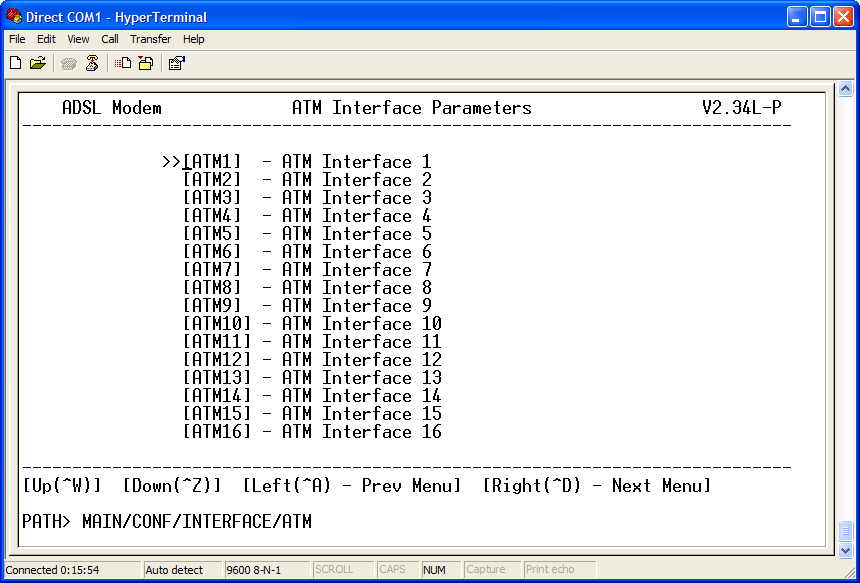
Select ATM1 from the menu. Change Interface to Disabled. The other settings do not matter.
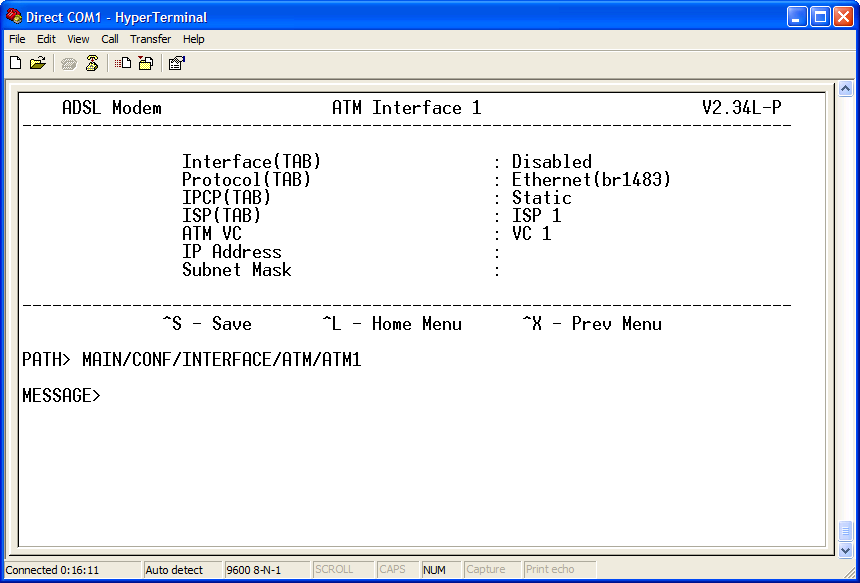
Exit the screen and select ATM3 from the menu. Change Interface to Enabled and confirm all other settings.

Exit back to the CONFIG menu and select VC.
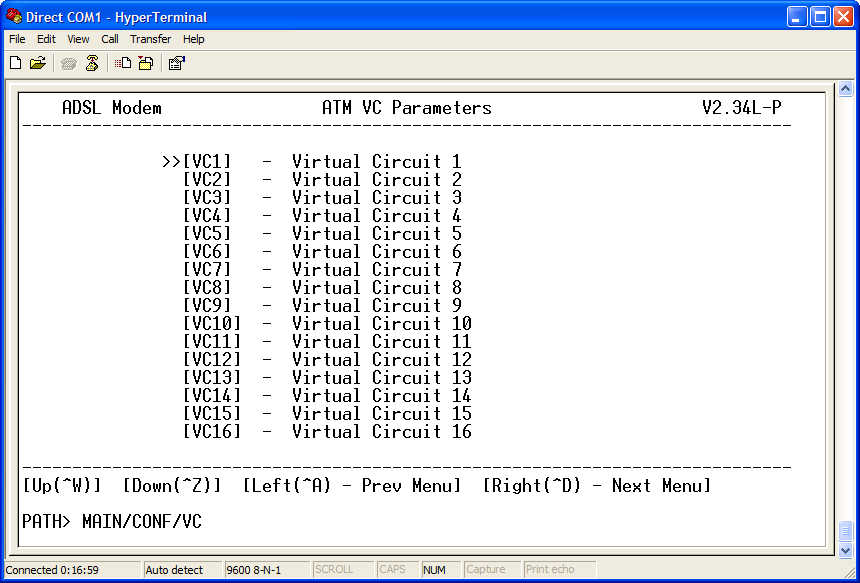
Select VC1 from the menu. These are the default settings. These settings are not used for SBC-Ameritech and need not be changed.
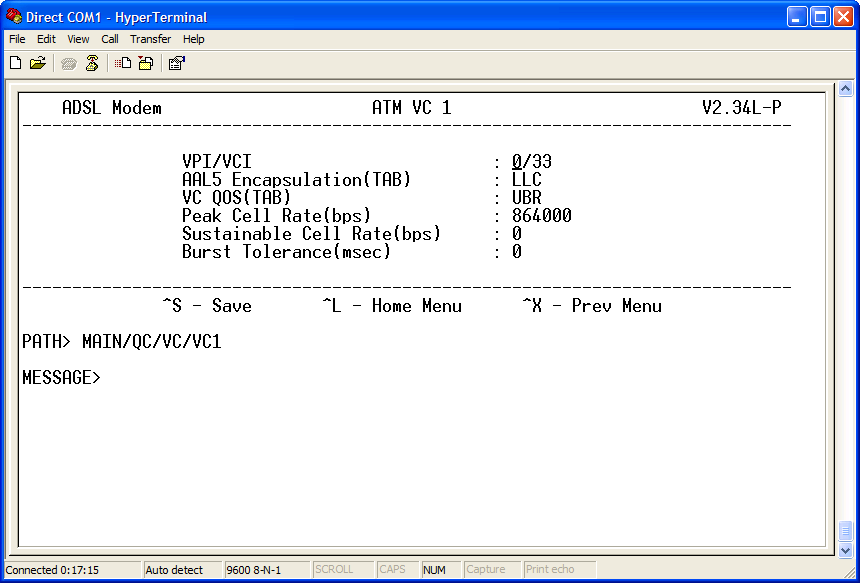
Exit the menu and select VC3. Change the settings to match. These settings are very important.

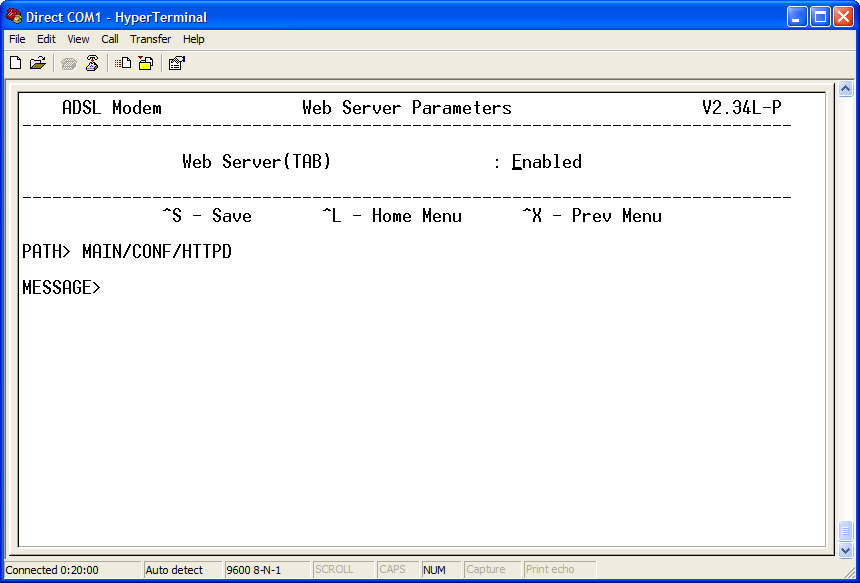
Exit the menu, answer Y when asked to save. Exit back to the CONFIG menu and select HTTPD. This is where the web server can be enabled. This setting does not matter unless you intend to use the web interface. Set it to disabled if you don't. The web interface is generally unavailable if you are using a router.
Exit back to the config menu and select ADSL. Configure as shown. These settings are very important. Exit the menu and answer Y when asked to save.

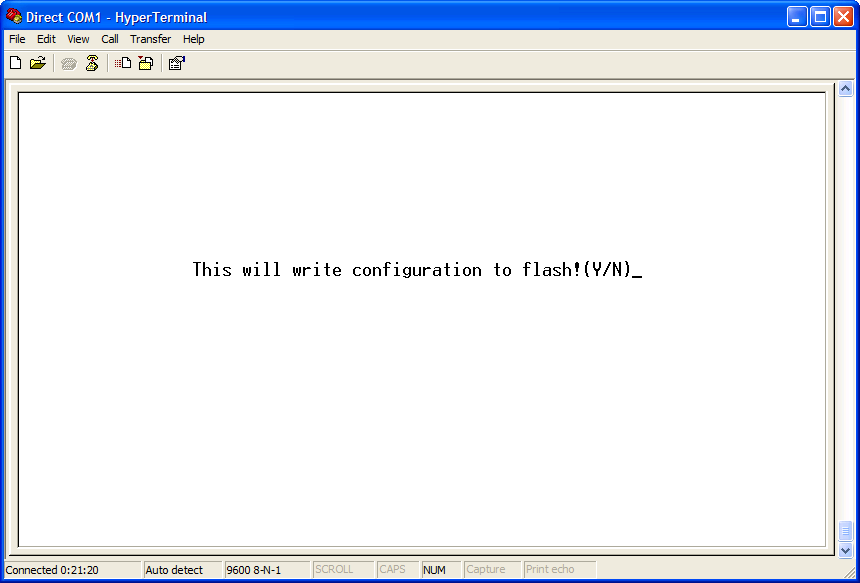
Exit back to the main menu and select WRITE. Answer Y. The the saved settings will be written to flash. If you do not do this the saved setting are lost and will not take effect when the modem is rebooted.
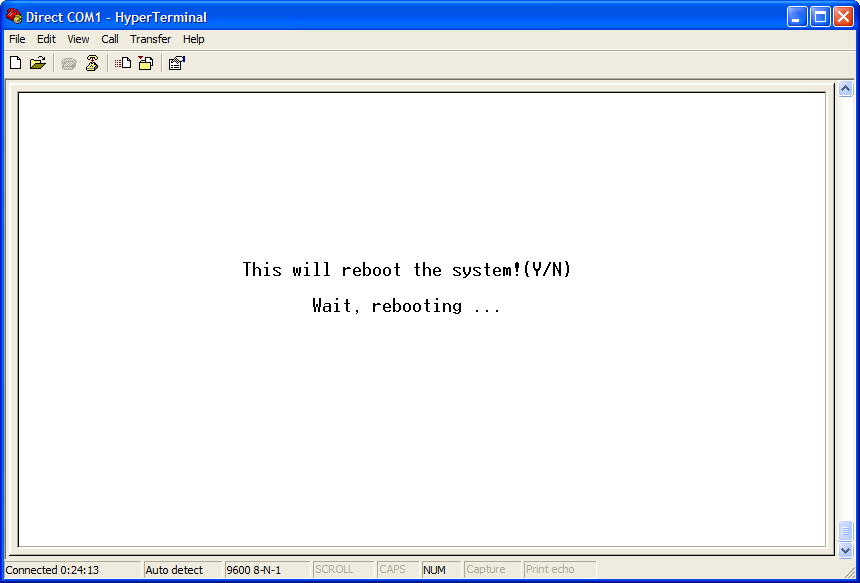
Select REBOOT from the main menu. Answer Y.
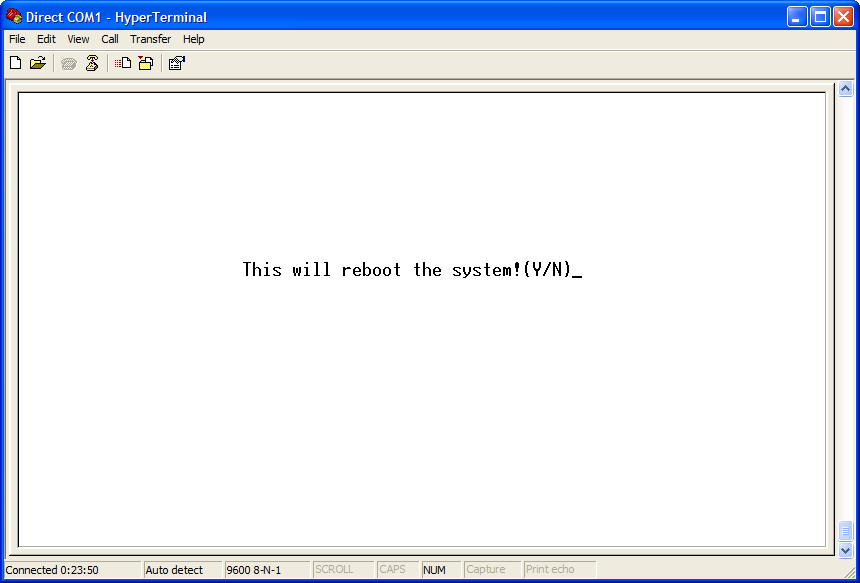
The modem will require approximately 15 seconds to boot and another 15 seconds to ADSL sync. The alert light should go off, the LAN Link and ADSL link should be on. The modem should now be operational. If it is not working or not reliable, go back an check all the critical settings. The alert light should never come on once ADSL sync is established.
Select MON from the main menu.
Select STATUS from the menu. Your subscribed sync rates should be shown as Bit Rate (Actual).

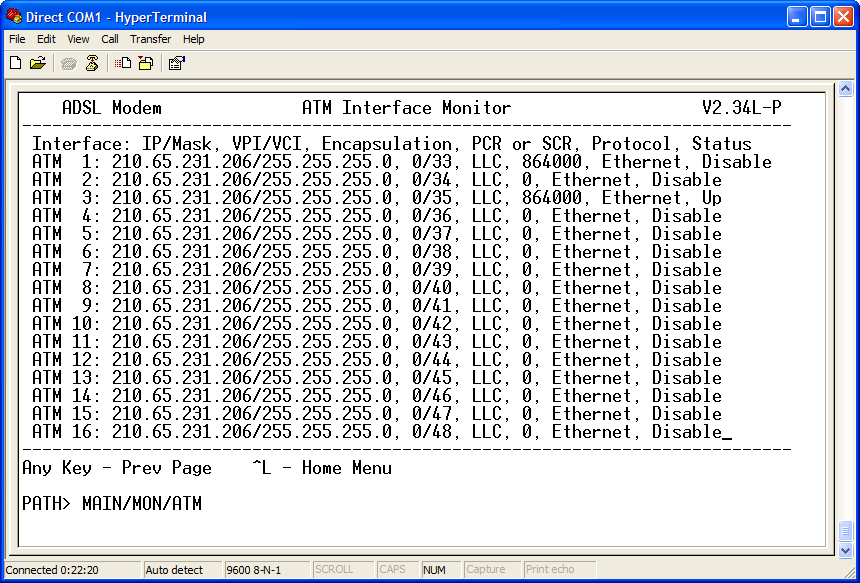
Exit the menu and select ATM. The screen should look like this.
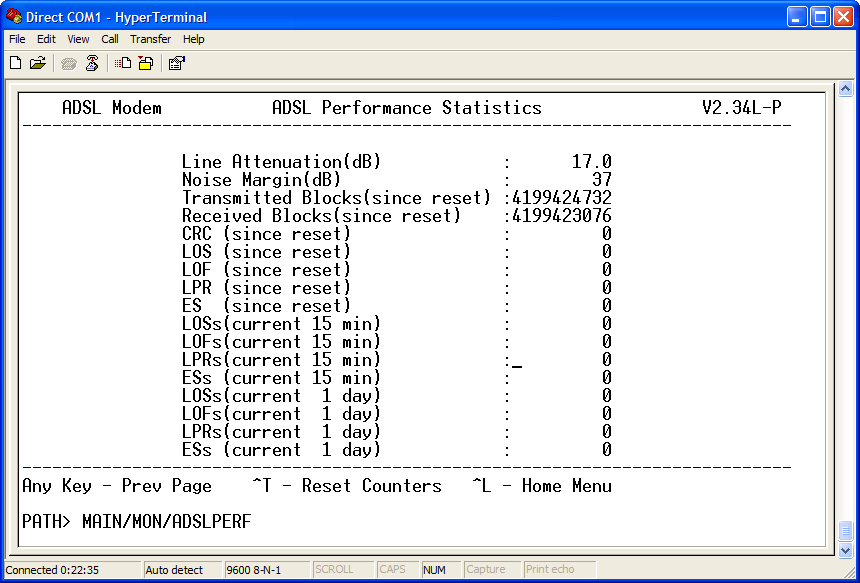
Exit the screen and select ADSLPERF from the menu. Higher noise margins are better.
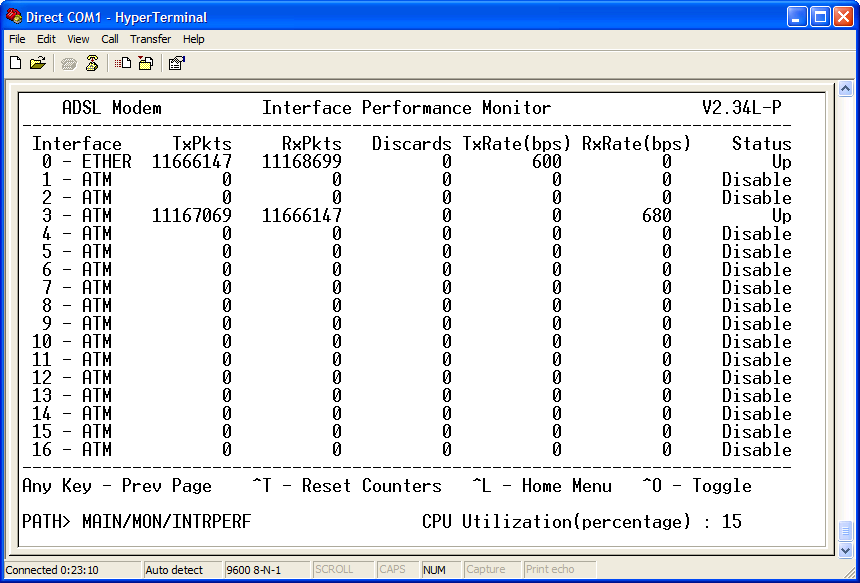
Exit the screen and select INTRPERF from the menu. Interface 0 and 3 should be up, all others disabled.
All rights reserved